
Build steady foundations.
Learn the core motions of knitting through three calm, close-up lessons designed for your very first stitches.
 Beginner
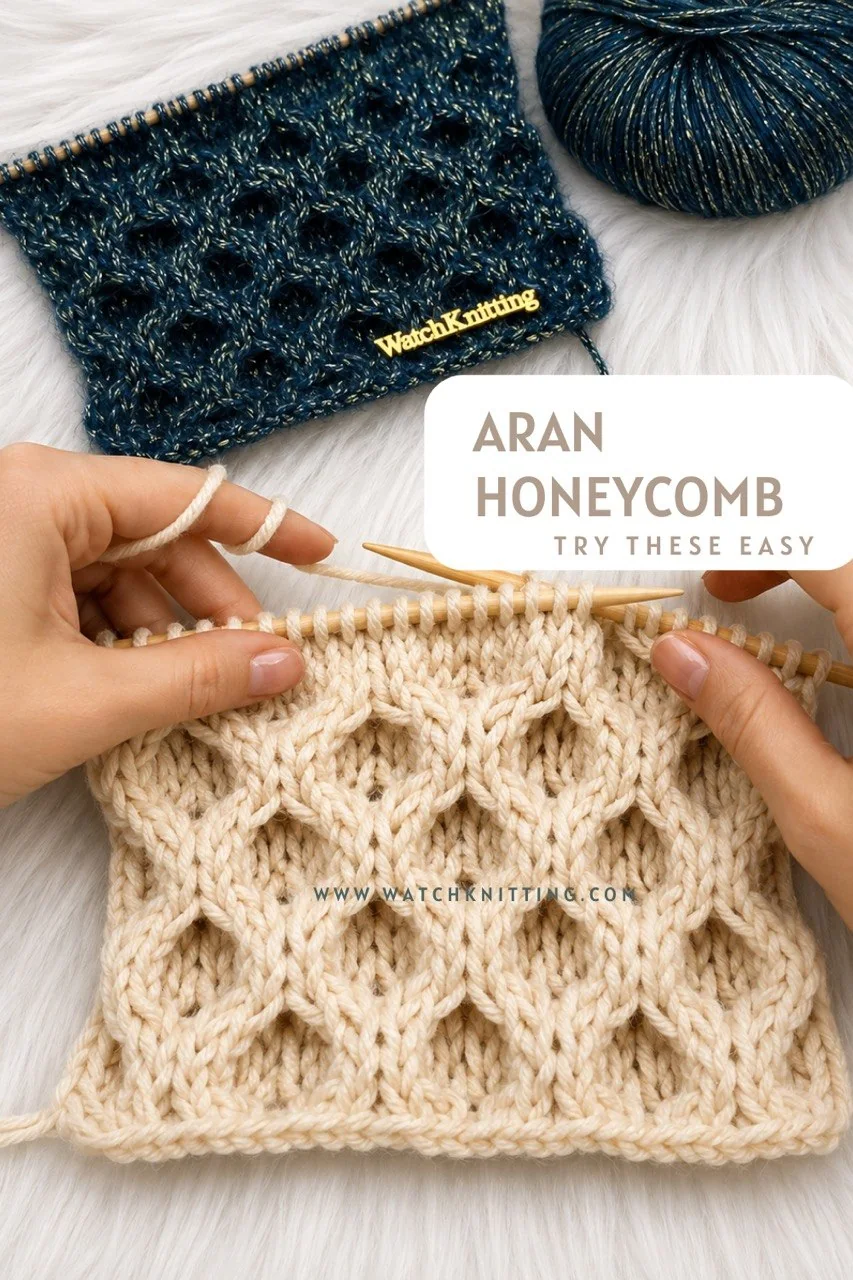
Easy Aran Honeycomb Stitch Pattern: Beginner-Friendly Classic Texture
The Aran Honeycomb Stitch is one of those beautiful classic knitting patterns that looks much more difficult than it really is. With its rich raised texture and timeless look, it is perfect for adding depth and interest to your handmade projects. Even though the finished fabric looks detailed and impressive, this stitch is very beginner friendly. The full repeat is 8 rows, but the actual shaping happens in only 2 pattern rows. The rest are simple knit and purl rows, which makes this pattern easy to remember once you get into the rhythm.
 Beginner
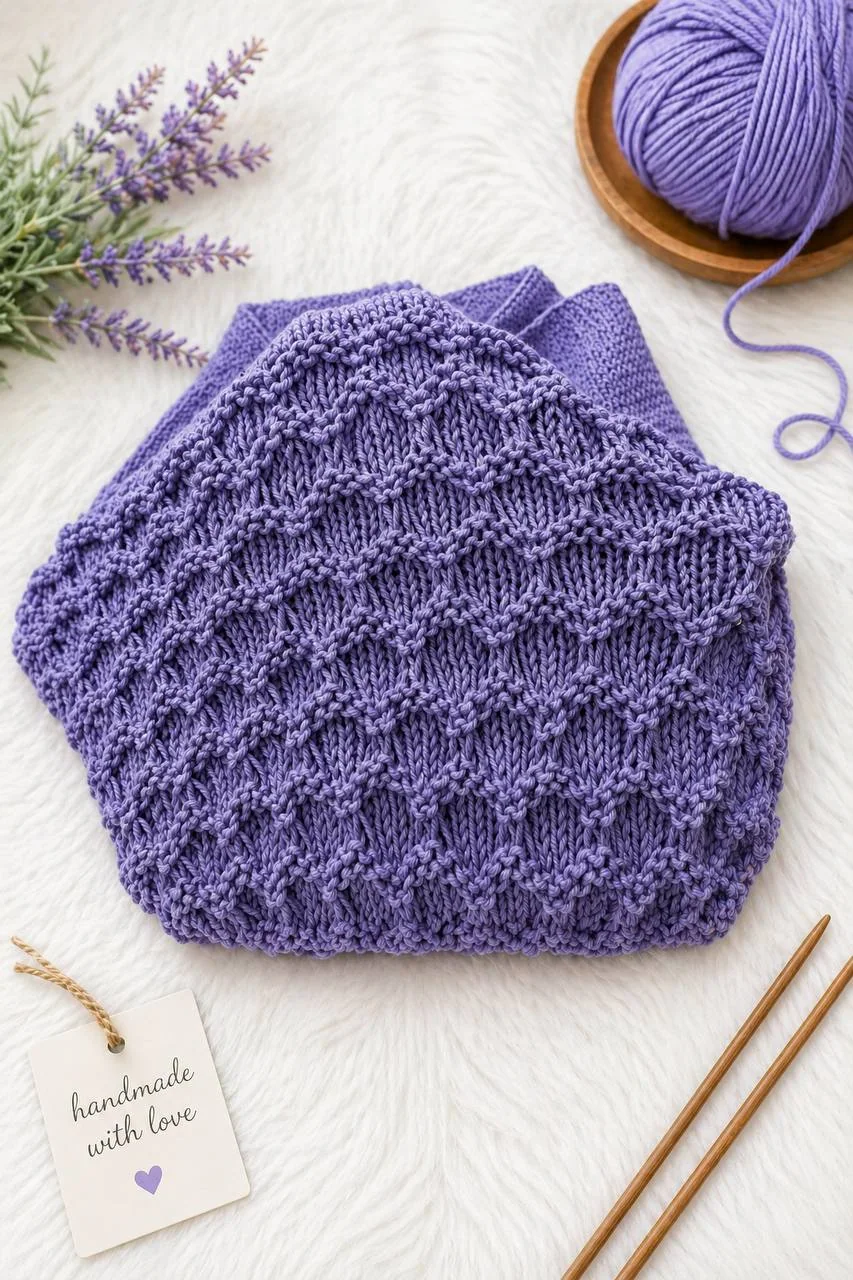
Easy Scallop Stitch for Beginners 🧶 Looks Complex but It’s Just Repeats! (Honeycomb Style)
The Scallop Stitch is a beautiful, textured knitting pattern that looks complex but is actually very simple . It’s built entirely on repeats , making it perfect for beginners. The final texture creates a soft, raised pattern that can even resemble a honeycomb effect .
 Beginner
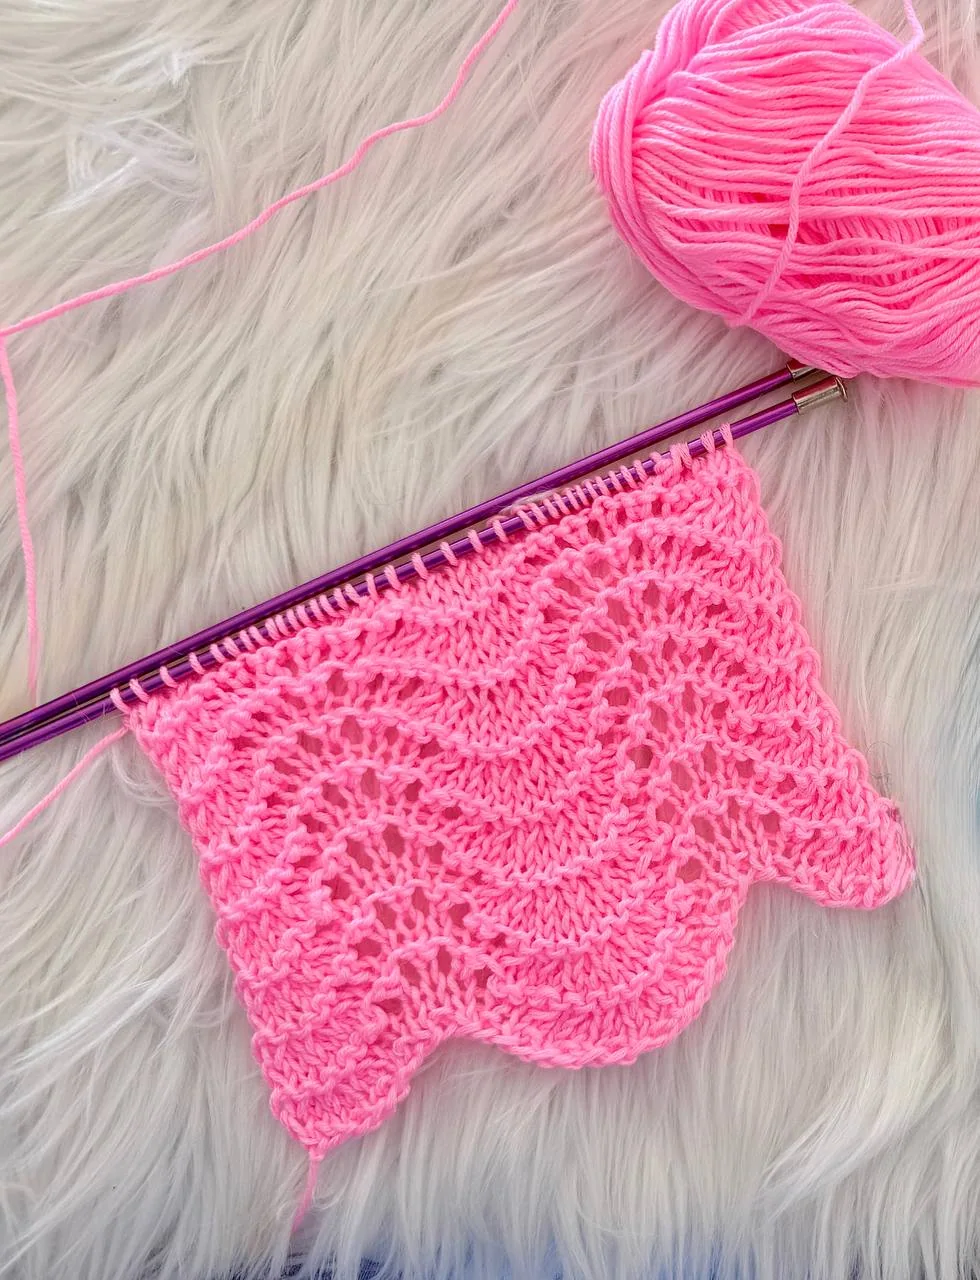
Fan & Feather Stitch (Easy Lace Pattern with 1-Row Repeat)
The Fan & Feather stitch is one of those patterns that looks far more intricate than it actually is. With its flowing, wave-like texture, it creates a soft and elegant fabric—perfect for lightweight garments and accessories. What makes this stitch especially appealing is its simplicity: the entire pattern is built on a single repeating row , making it easy to memorize and relaxing to knit.
 All levels
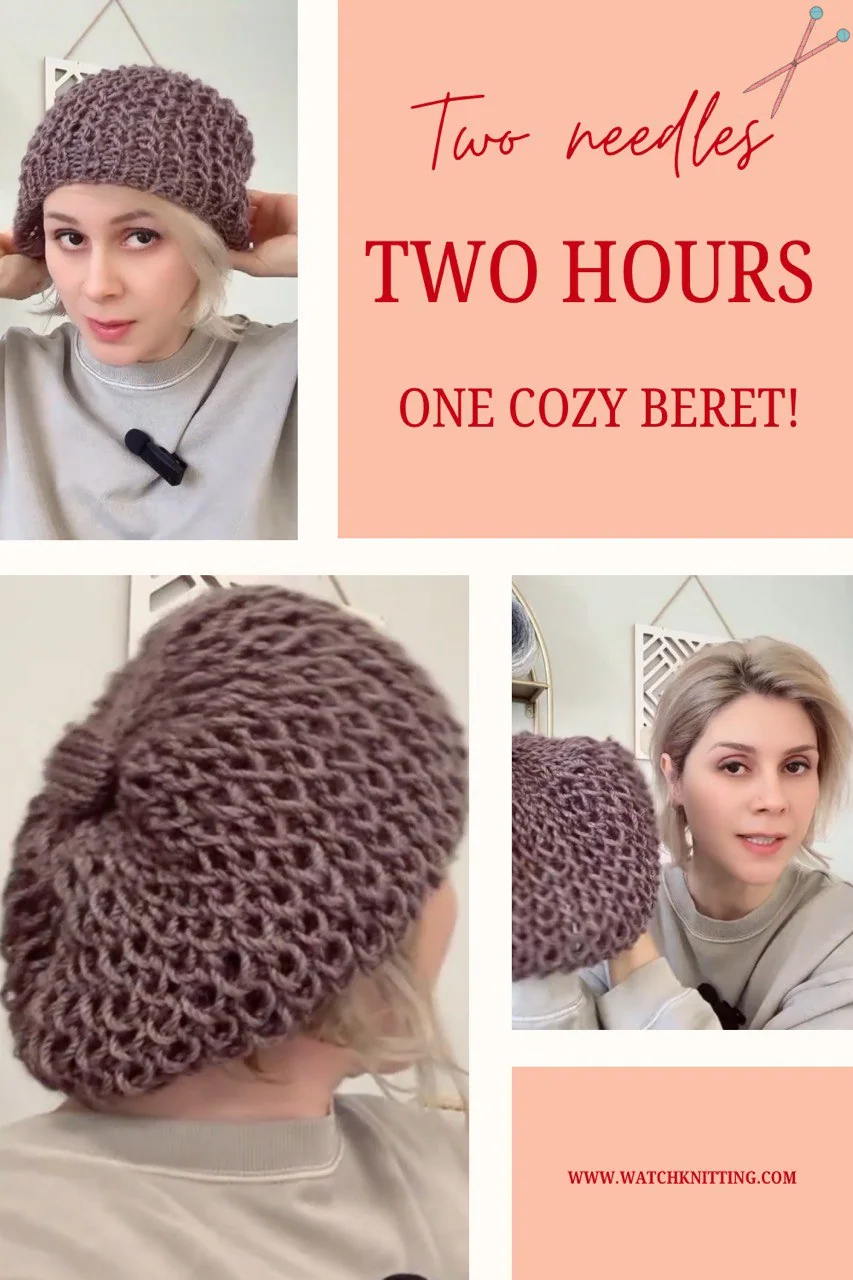
Easy Loose Beret Hat — Straight Needle Tutorial (2 Hours!)
Hello everyone, Fariba here 🤍 I’m excited to share this hat tutorial with you! This is the same loose, slouchy beret I previously shared using circular needles—and many of you loved the result. After that video, I received so many requests asking if the same hat could be made with straight needles . So here it is! I recorded a full tutorial showing exactly how to knit this hat flat and seam it at the end . I’ll wear the hat in the video so you can clearly see how it looks from the front and the back. The shape is soft and relaxed, the texture is beautiful, and best of all—it’s super easy and fast . I finished this hat in just two hours . If you’re ready, let’s knit it together ✨
How to Seamlessly Hide Knots in Your Knitted Patterns
Let’s see how we can fix the knots at the back of your knitted pattern, especially when adding another yarn. While knitting, I made a knot to continue my pattern, but now it’s time to address it. Here’s how you can remove the knot and hide it seamlessly: The result is a smooth, tidy back without any visible knots, leaving your pattern looking professional and polished. Thank you for watching!
 Intermediate
I am a beginner, what are my steps?
Welcome to the world of knitting! Learning a new skill could be challenging sometime specially if there is not enough useful resources to rely on them. Many websites, tutorials and even books became useless as it comes to beginners tutorials since they mostly rely on intermediate and experienced lessons. Here I decided to tour you through my step by step guide on knitting for beginners to help you find what would be your steps to become a master in knitting. So if you are totally beginners to the world of knitting don’t worry at all you are in a right place.
 All levels
Single Cast On
Single Cast On by Vickie Howell
 All levels
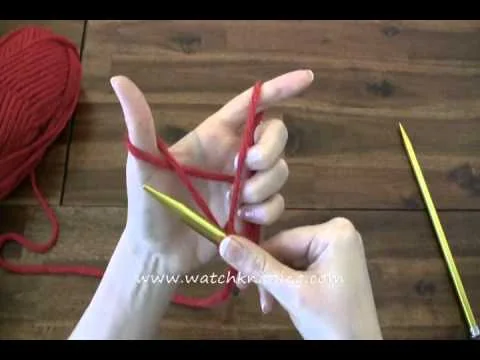
Long-Tail Cast On/Continental Cast-on/Double Cast-on
One common concern in long-tail cast-on is to figure out how much yarn is required to use for cast on? Since leaving extra tail will disturb during knitting it is better measure right amount of yarn for tail. Below the correct measurement is given according to the yarn sizes. Calculate the amount of strand you need for your project and then start from that point. 1 inch per one stitch plus 10 inches of extra tail for Bulk yarn 1/2 inch per one stitch plus 10 inches of extra tail for Medium yarn 1 cm per one stitch plus 10 cm of extra tail for Fine yarn While you have needle in your left hand put the marked point of strand on needle the way that the tail (shorter strand) stands in front.
 All levels
Increase at the beginning
To illustrate how to increase knit at the beginning of the row
 All levels
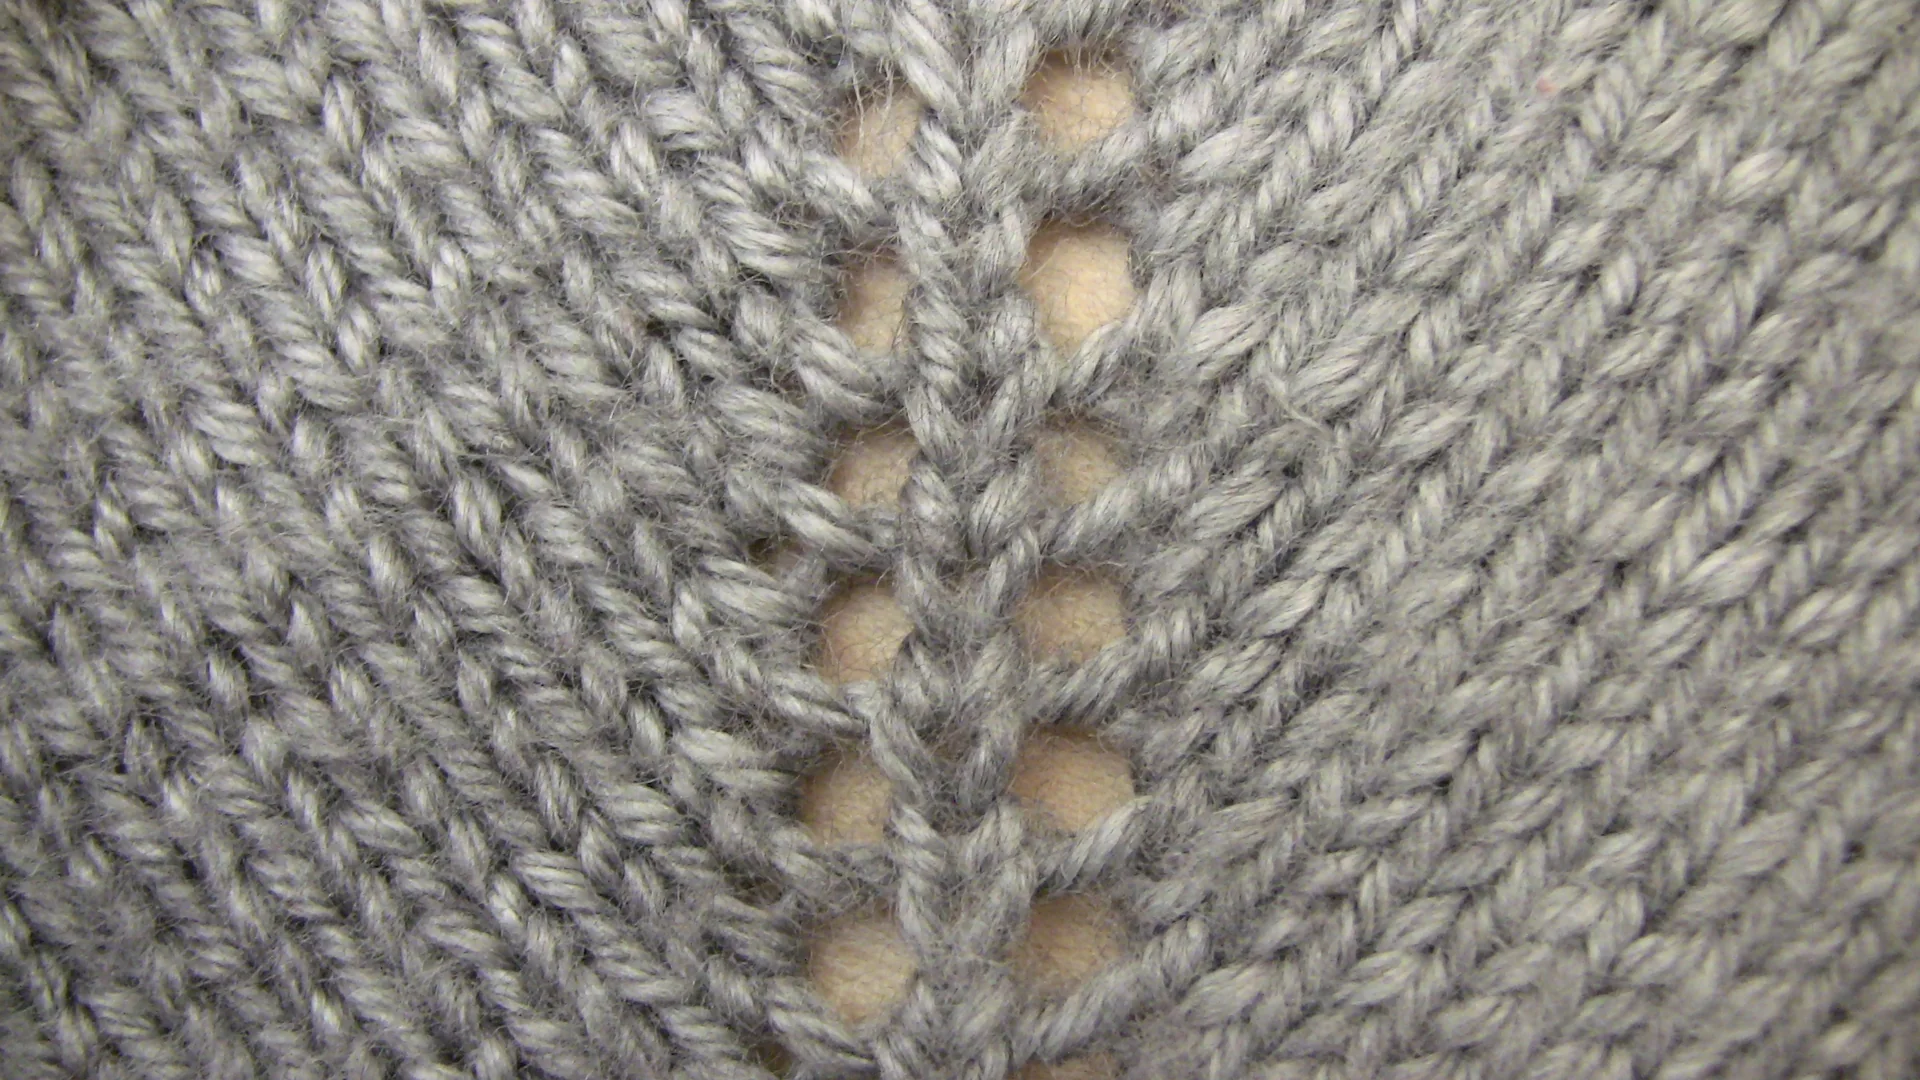
Tutorial 6 – Yarn over
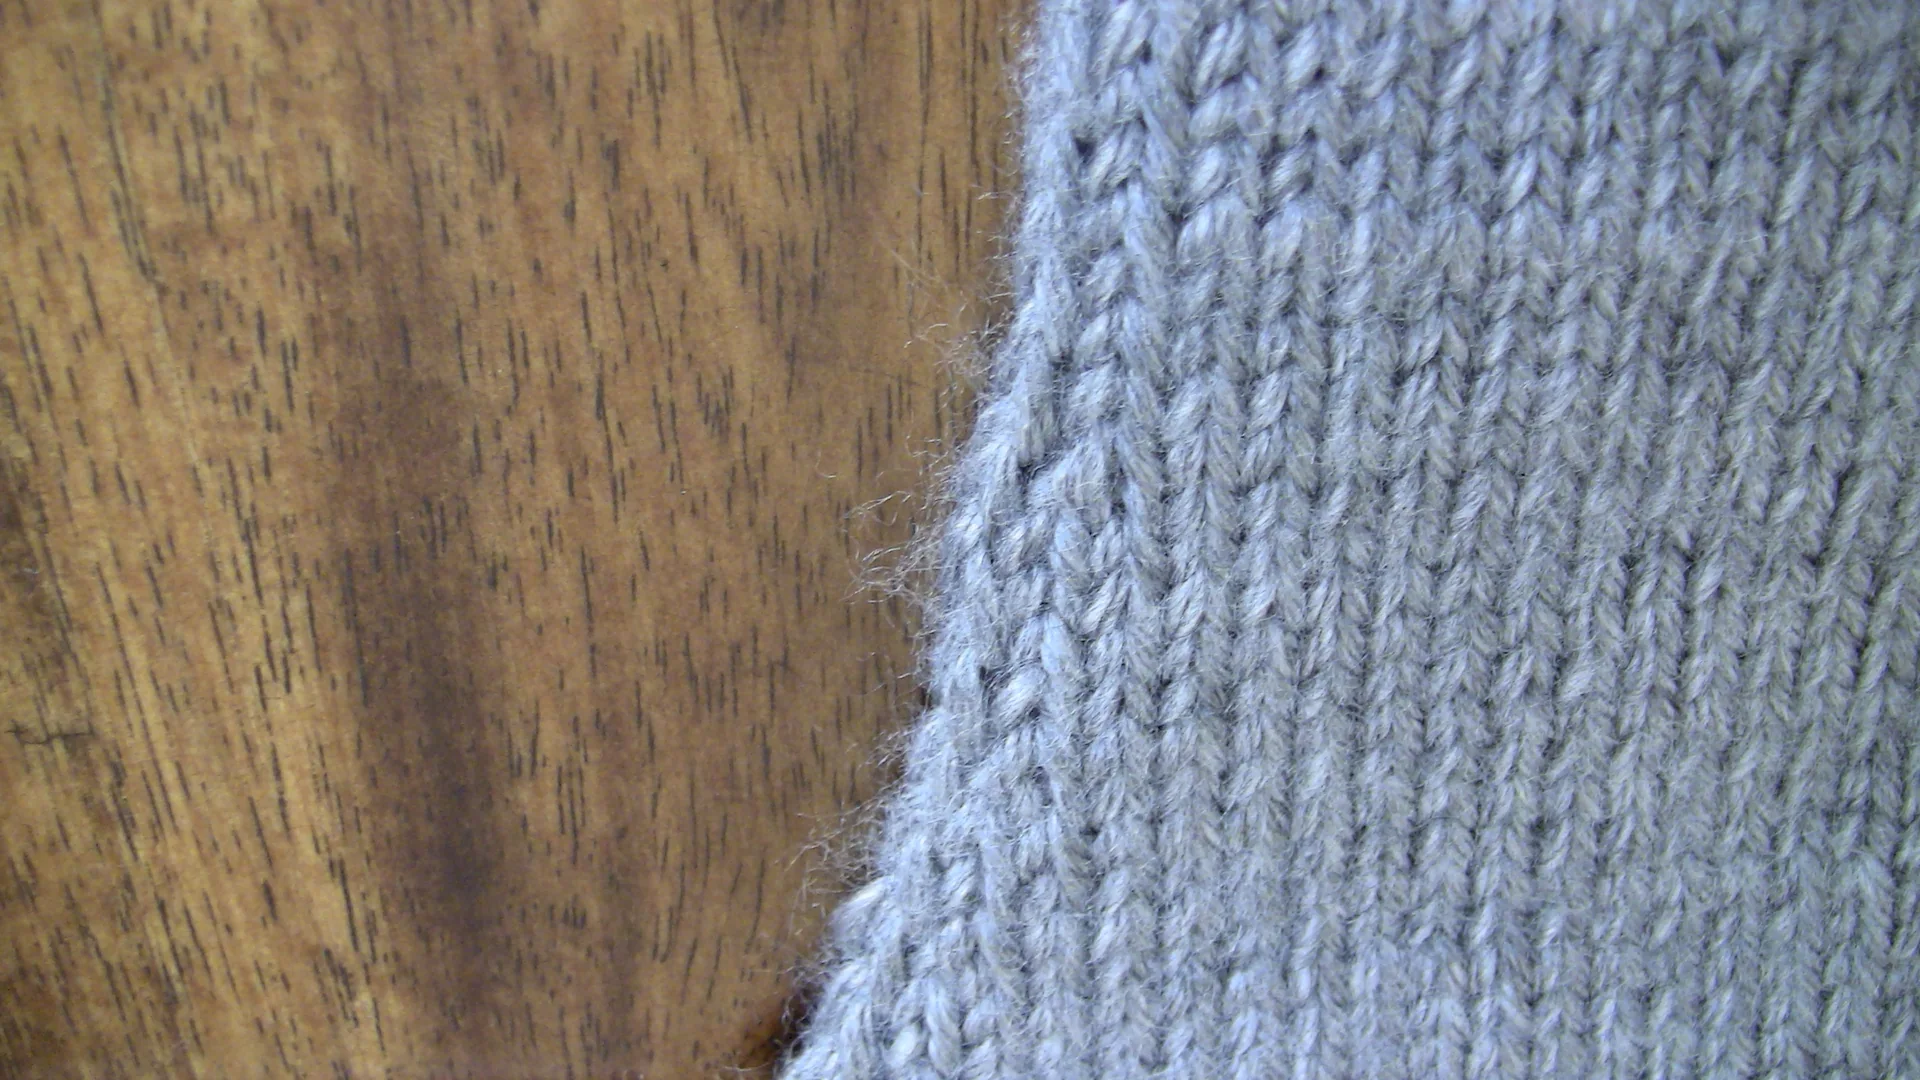
Yarn over is a technique that allows yo to create lace stitches. For doing yarn over you do increase and decrease at the same row and that keeps your piece measure at a fix length and fix number of stitches.
 All levels
Tutorial 5 – Increasing/Decreasing
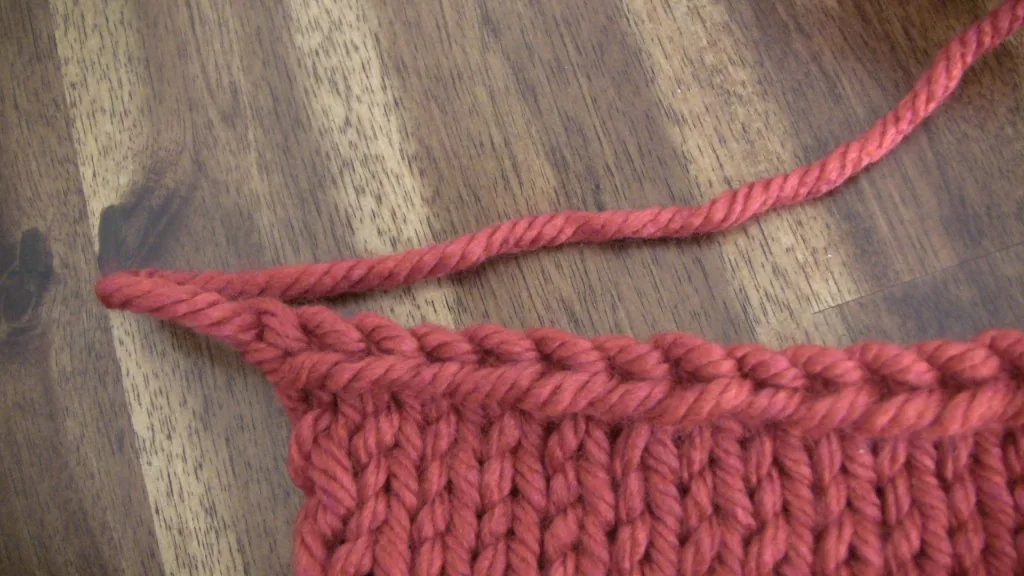
While knitting sometime we need to increase stitches or even decrease stitches in order to give a specific shape or to work on a specific pattern. Like other techniques in knitting there are different ways to do increase and decrease. One of the easiest ways to do decrease is through knitting two stitches together. The other way is to pick the first stitch, knit the next stitch, and then pull the first stitch over the knit stitch. For increasing stitches also there are different methods. The easiest way is to wrap the yarn around the needle one time and knit it as a normal stitch in the next row. Yarn over is another way to do an increase. It is most used in lace stitches whereever small deliberate holes are created. To watch the video for yarn over click here . However if you wanted to add like 10 stitches to the beginning of the project you should follow Single Cast-on method or other methods like this one here . Increasing: Decreasing:
 All levels
Tutorial 4 – Bind off
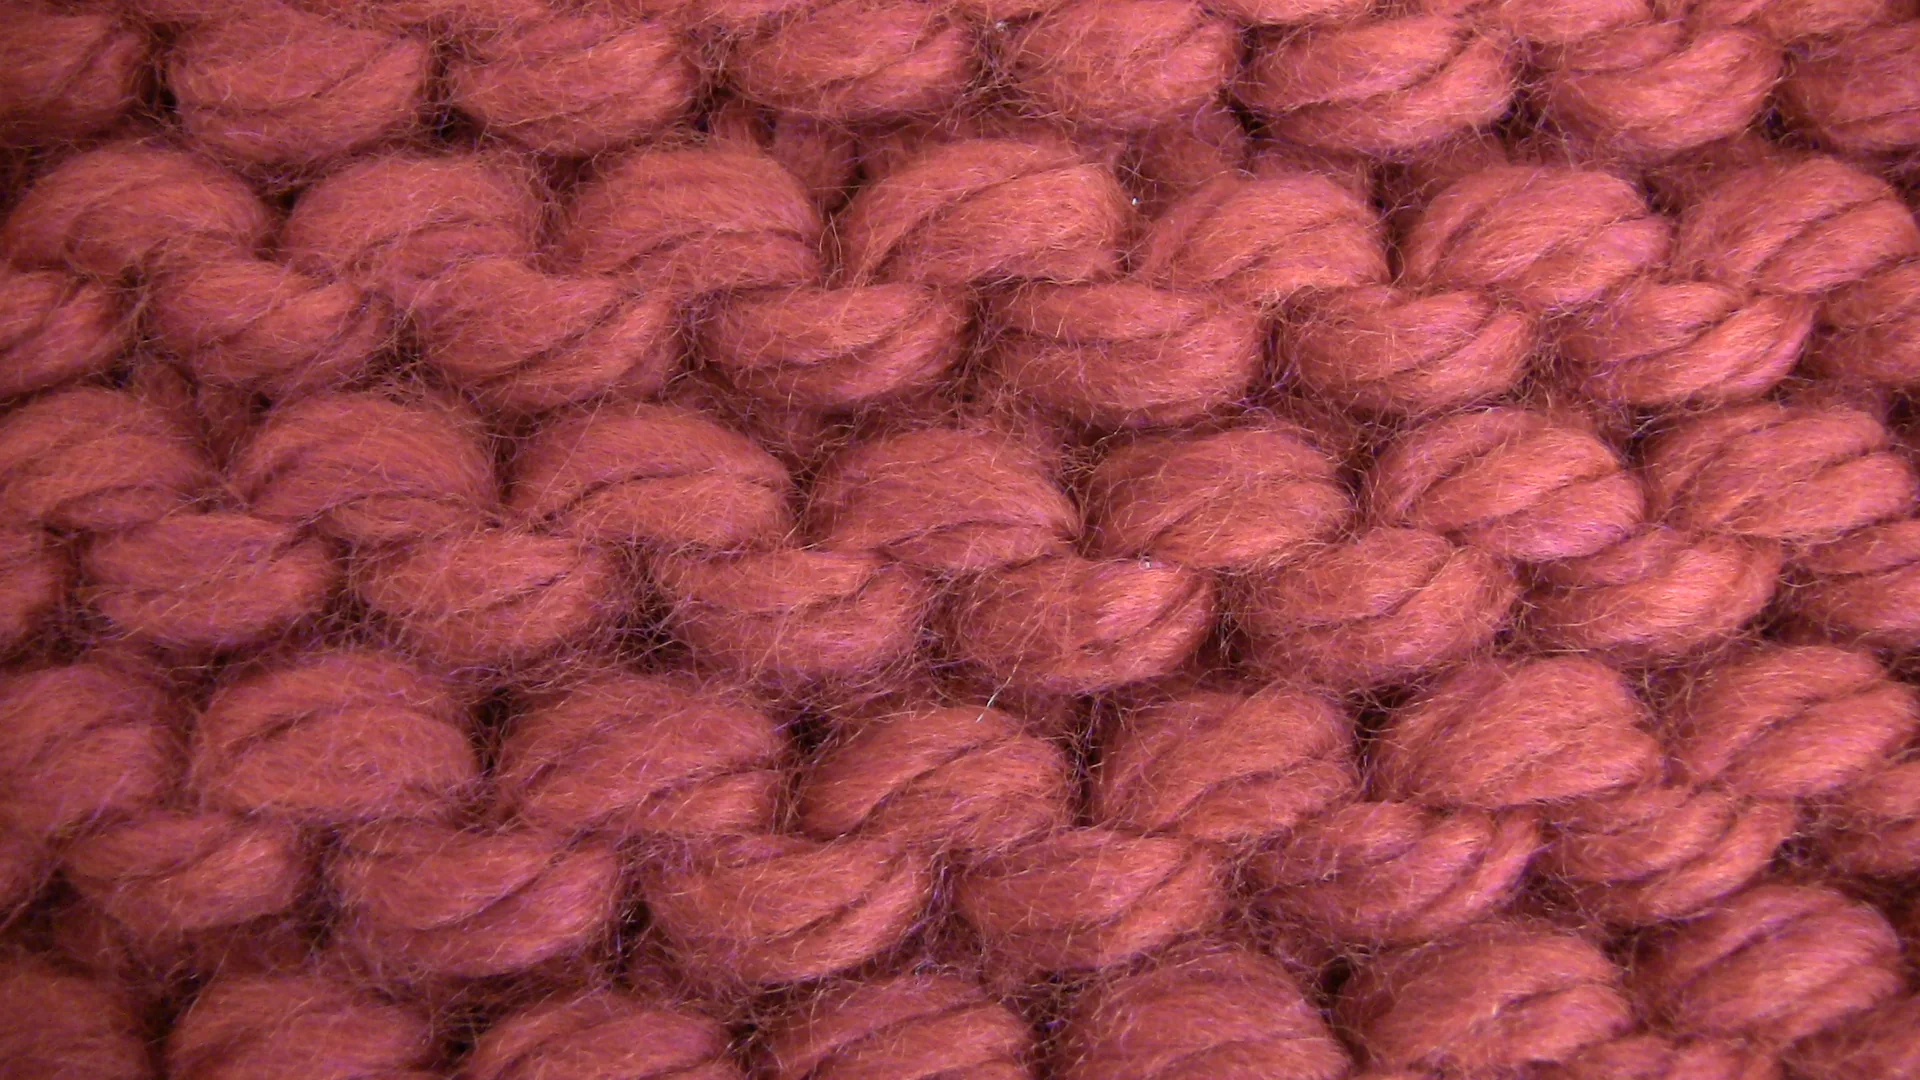
To end up a knitting project, we need to bind it off at the end. One easy way is to knit two stitches together. The new stitch witch is created by last two stitches, will be added to the rest of stitches in the left needle and will be knitted with the next stitch in again. Cast off ( bind off ) can be done in any side of the pattern. Watch the video :
 All levels
Tutorial 3 – Purl stitch
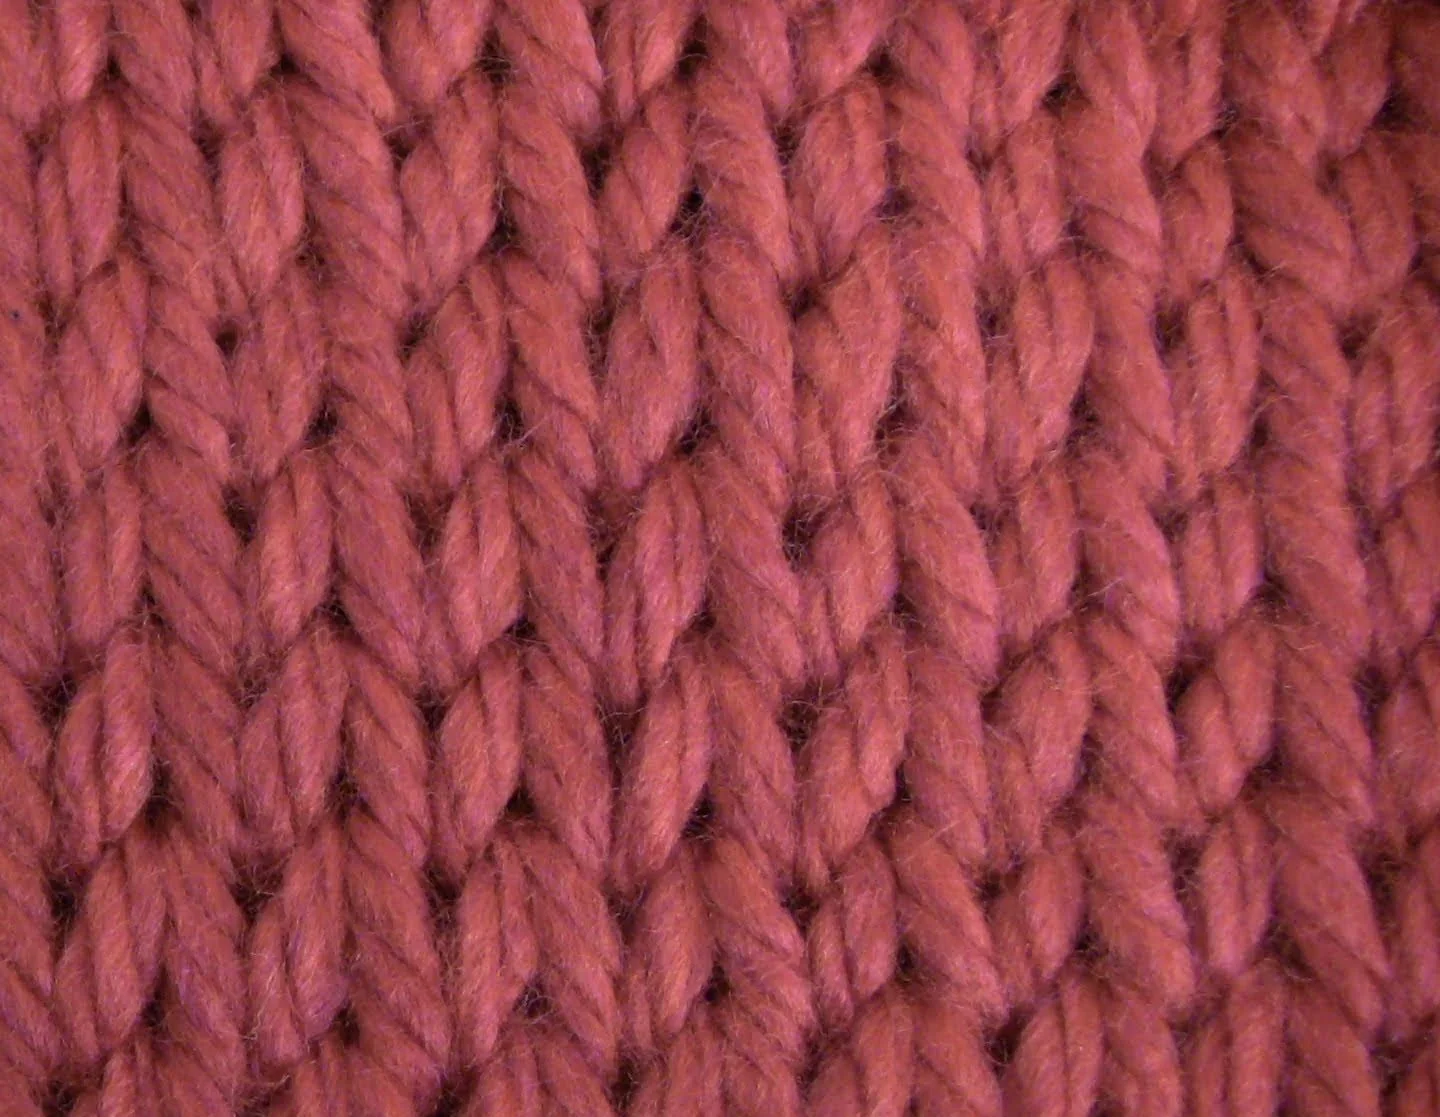
A stitch which is made by inserting needle in the right hand into the stitches in the left hand , while the head of the right needle stands in front of the needle in the left. Watch the video:
 All levels
Tutorial 2 – Knit Stitch
After cast on desired number of stitches, the second step is to connect new loos/stitches to the previous loops/stitches. Basically this is called knitting. If you cast on double needles you need to remove one of the needles to let stitches become a little loos and easy to work. Having needle with stitches in your left hand you will insert the right needle through stitches from right side. The position of the needle during inserting determines the shape of the stitches and it is the reason that we can make different stitches with different shapes. There are two main/basic stitches that almost all other stitches are made by them, these two stitches are called Knit Stitch and Purl Stitch .
 All levels
Tutorial 1 – how to cast on
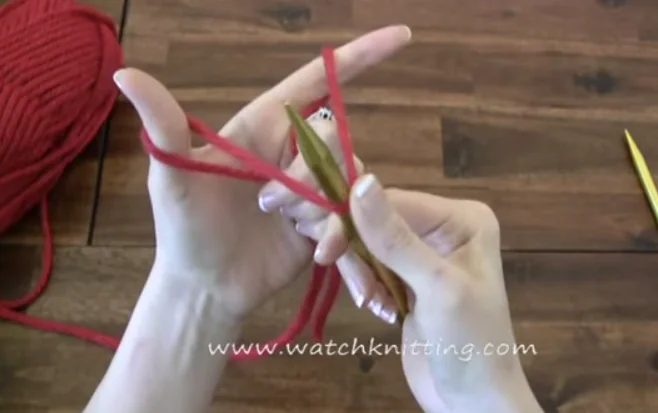
The first step of knitting is casting on. Casting on means making the base row of loops that will allow us to make a knit fabric by connecting new loops in following rows. The number of loops that you need to cast on depends on the project you wanna work on and also on your yarn size. As you may know yarns come in different sizes starting from number 1 (Super Fine) to number 6 (Super Bulky). There are useful information in information label on the yarn regarding the number of yarn size and suitable needle size for it. Also it says how many stitches/loops is required to make 10 cm of that specific yarn. Going through those info helps you to decide which size of needle you need to select and after that you can decide how many stitches/loops you need to cast on depending on the project you plan to make. You can find related information to this topic in Knitting Gauge .